
If you’ve never replaced a roof before, it’s normal to feel uncertain about the process. Homeowners often ask how long it takes, how disruptive it will be, and what actually happens once work begins. Understanding what to expect during a roof replacement helps reduce stress, set realistic expectations, and ensure you’re prepared from start to finish.
Below is a step-by-step overview of what typically happens during a professional roof replacement, so you can feel confident and informed before work begins on your San Antonio home.
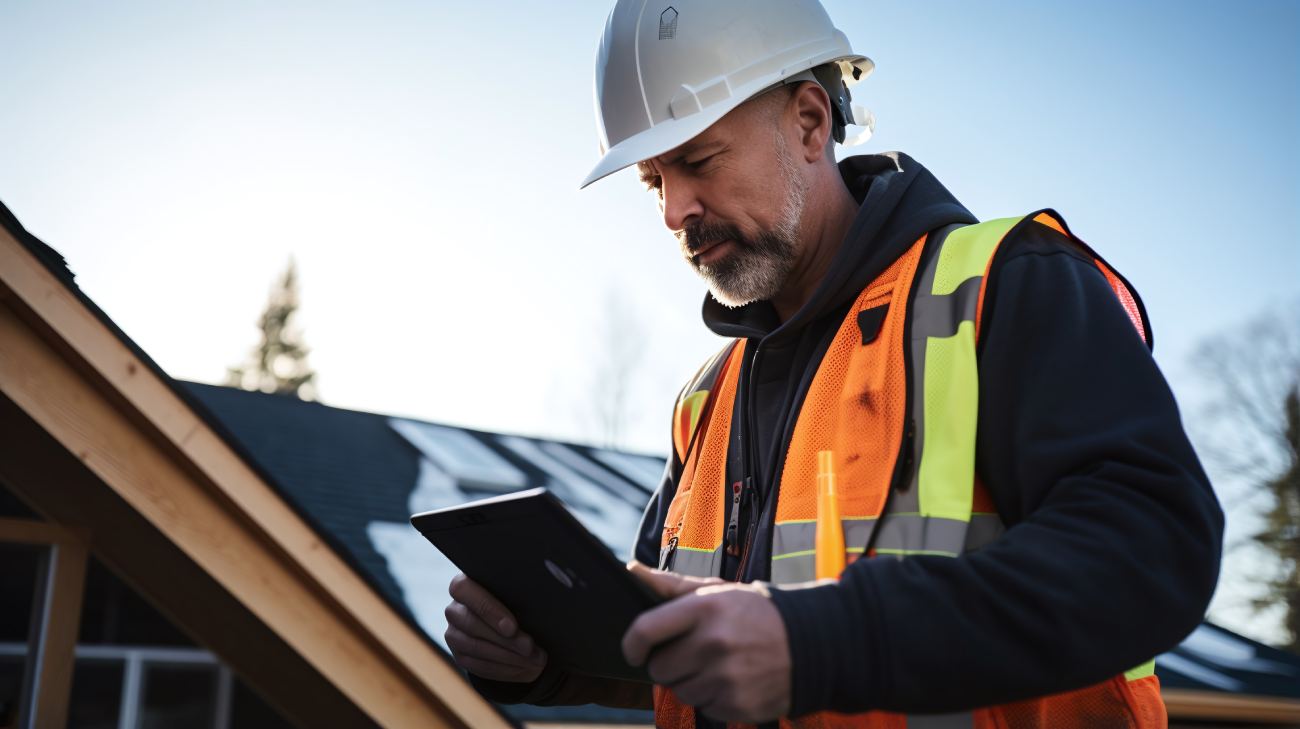
Step 1: Initial Roof Inspection and Planning
Every roof replacement starts with a thorough inspection. Before any materials are ordered or work is scheduled, your roofing contractor evaluates the current condition of your roof to confirm replacement is the right solution.
During this stage, the contractor will:
- Inspect shingles, underlayment, flashing, and ventilation
- Identify any structural concerns or hidden damage
- Measure the roof accurately
- Discuss material options and color choices
Once the inspection is complete, you’ll receive a clear plan outlining the scope of work, estimated timeline, and what to expect on installation day.
Step 2: Scheduling and Pre-Installation Preparation
After you approve the project, your roof replacement is scheduled. Most residential roof replacements in San Antonio are completed in one to two days, depending on roof size, complexity, and weather conditions.
Before installation day:
- Roofing materials are delivered to your property
- The contractor confirms start times and logistics
- Homeowners are advised to move vehicles, protect valuables, and secure pets
Good preparation helps the project move efficiently and minimizes disruptions.
Step 3: Removing the Old Roofing Materials
On installation day, the first major step is removing the existing roof. This allows the roofing team to inspect the decking underneath and ensure a solid foundation for the new roofing system.
During tear-off:
- Old shingles and underlayment are removed
- Nails and debris are cleared away
- The roof deck is inspected for rot or damage
If damaged decking is found, repairs are completed before the new roof is installed. Addressing these issues early helps prevent future problems.
Step 4: Inspecting and Preparing the Roof Deck
Once the old materials are removed, the roof deck becomes fully visible. This step is critical to the long-term performance of your new roof.
The roofing team ensures:
- The decking is structurally sound
- All surfaces are clean and properly secured
- Necessary repairs are completed
A properly prepared roof deck ensures the new roofing materials install correctly and perform as intended.
Step 5: Installing the New Roofing System
With the deck prepared, installation of the new roofing system begins. This process involves more than just laying shingles—it includes multiple protective layers working together.
Installation typically includes:
- Ice and water barriers in vulnerable areas
- Underlayment for moisture protection
- Flashing around vents, chimneys, and valleys
- Shingles or roofing materials installed with precision
- Ridge caps and ventilation components
Proper installation techniques are essential for weather resistance, energy efficiency, and long-term durability—especially in the Texas climate.
Step 6: Cleanup and Final Inspection
Once the new roof is installed, cleanup begins immediately. Professional roofing contractors take care to leave your property clean and safe.
Cleanup includes:
- Removing debris and leftover materials
- Sweeping for nails and fasteners
- Inspecting landscaping and surrounding areas
After cleanup, a final inspection is performed to ensure all components are installed correctly and the roof meets quality standards.
Step 7: Final Walkthrough and Warranty Information
Before the project is officially complete, the contractor will review the finished roof with you and answer any questions. This is also when warranty details and maintenance recommendations are discussed.
You’ll learn:
- What warranties apply to materials and workmanship
- How to maintain your roof for longevity
- What signs to watch for in the future
This final step ensures you leave the process confident in your investment.
How Long Does a Roof Replacement Take?
Most residential roof replacements are completed within one or two days. Larger homes, complex roof designs, or weather delays may extend the timeline slightly, but reputable contractors communicate clearly throughout the process.
Why Professional Installation Matters
A roof replacement is a major investment, and quality installation makes all the difference. Proper materials, correct techniques, and attention to detail help ensure your roof protects your home for decades—not just a few years.
Working with an experienced roofing contractor gives you peace of mind that every step of the process is handled correctly.
Schedule a Roof Inspection Before You Replace
If you’re unsure whether your roof needs replacement or want a professional opinion, scheduling a roof inspection is the best first step. A qualified inspection helps you understand your roof’s condition and determine whether repairs or replacement make the most sense.
For San Antonio homeowners, proactive planning leads to better outcomes, fewer surprises, and a smoother roofing experience overall.


